Separate contact from restraint
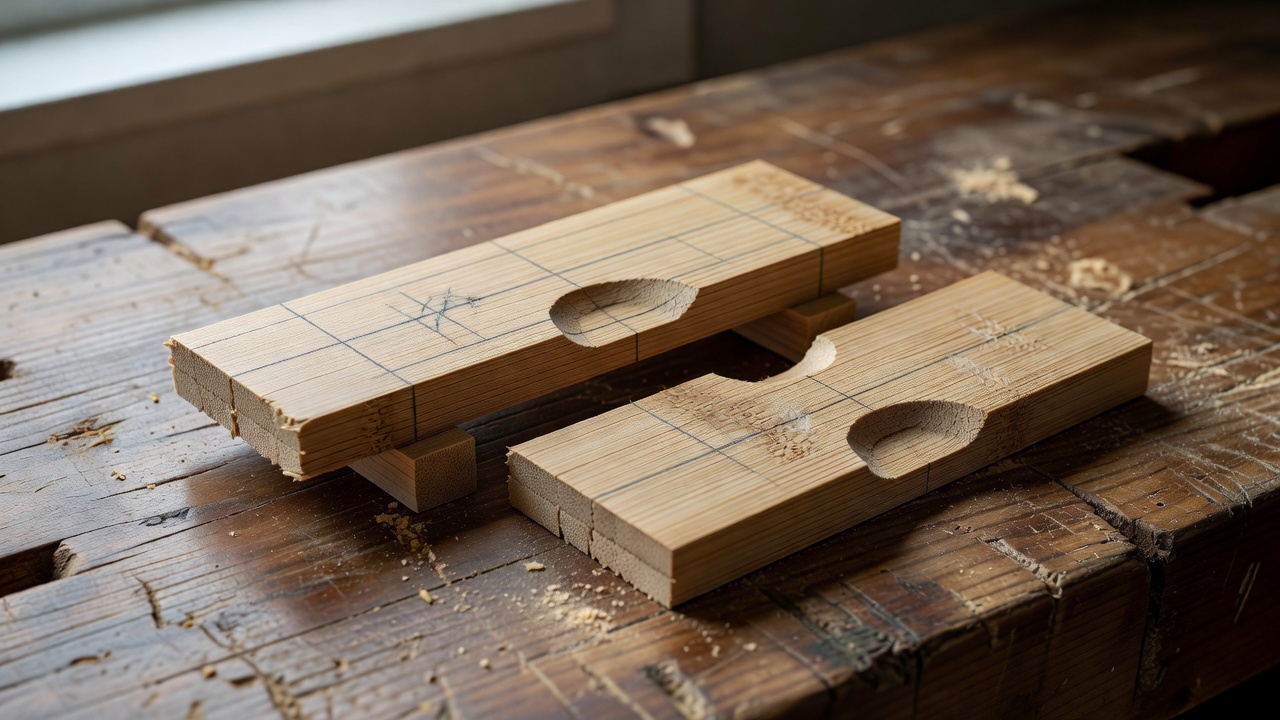
Many beginner joints look convincing from one angle but touch at only a few narrow points. When the assembly is tightened, those points carry concentrated pressure. A shaped saddle can improve contact between crossing culms, but it still needs an appropriate method of restraint. Binding, adhesive and mechanical fasteners perform different jobs; none should be treated as a cure for a poorly fitted surface.
Start by sketching the connection and drawing arrows for the forces you expect. Will one member bear on another, pull away, rotate or slide? A frame corner may face several of these actions. Consider how the force reaches the culm wall and where a split could begin. The correct question is not “Which joint is strongest?” but “What does this connection need to resist, in this particular material?”
Compare approaches before choosing
| Approach | Useful learning focus | Main caution |
|---|---|---|
| Shaped saddle with restraint | Contact area and crossing alignment | Over-cutting reduces the remaining culm wall. |
| Lashing or binding | Consistent tension and resistance to slip | Binding can relax, wear or move with moisture changes. |
| Mechanical connection | Load distribution and controlled assembly | Holes and excessive tightening can initiate splitting or crushing. |
| Adhesively bonded connection | Surface preparation and curing discipline | Compatibility, bond geometry and service exposure must be verified. |
This comparison describes what to investigate, not a recipe for a chair. Connection performance depends on dimensions, species, wall condition, hardware, workmanship and exposure. Do not infer a safe load from a photograph or copy a fastener size from a different project without design justification.
Prepare a repeatable setup
Use sound offcuts from the batch you intend to understand. Mark a reference line along each piece and identify the intended angle. Support round stock against rolling with a suitable cradle or fixture. Keep hands out of the cutting path, use sharp tools appropriate to the operation and follow the tool manufacturer’s instructions. Eye protection and suitable dust control are basic workshop requirements; respiratory protection must suit the task and exposure.
Remove material in small stages, checking the fit frequently. A template may help you begin, but a nominal diameter will not capture every oval or tapered section. Look at the contact from several directions. A light pencil transfer mark can reveal high spots during a dry fit. Do not force the pieces together so aggressively that the test itself deforms the wall or conceals a gap.
Practice: fit, mark and compare
Make one connection sample and label both components. Photograph the meeting surfaces before assembly, then mark a witness line across the assembled joint. Record where contact is broad, where a gap remains and whether the parts rock before restraint is applied. Keep the observation specific: “visible gap at the rear edge” is more useful than “not quite right.”
Repeat the sample after changing one variable, such as the shaping sequence or the method used to locate the centreline. Keep other conditions as consistent as practical. This makes comparison possible. If you change the material, geometry and restraint all at once, you may obtain a better result without learning which change mattered.
- Check that the joint aligns without excessive clamp force.
- Inspect for fresh splits, crushed fibres and damaged hole edges.
- Record restraint materials and any adhesive product used.
- Recheck witness lines after the recommended curing or settling period.
What does a successful exercise demonstrate?
It demonstrates that you can reproduce a fit and describe its behaviour. It does not establish a rated load, a fatigue life or suitability for seating. Keep informal observations separate from engineering tests.
Understand adhesives and fasteners
Read the adhesive technical data and safety data sheets before use. EN 204 classifies thermoplastic wood adhesives for non-structural applications, while EN 12765 addresses thermosetting wood adhesives for non-structural applications. A classification under either standard is not proof that a particular adhesive will bond your bamboo surface successfully. Check the manufacturer’s stated substrates, preparation, clamping, temperature and cure requirements.
Mechanical fasteners introduce local forces into a thin-walled natural tube. Hardware arrangements that spread pressure may still need specialist detailing, especially around holes and member ends. Avoid universal rules about tightening torque or hole placement unless they are supported for the specific system. Do not use body weight as a test load on an experimental joint. The next lesson puts these connection questions into a complete assembly plan.