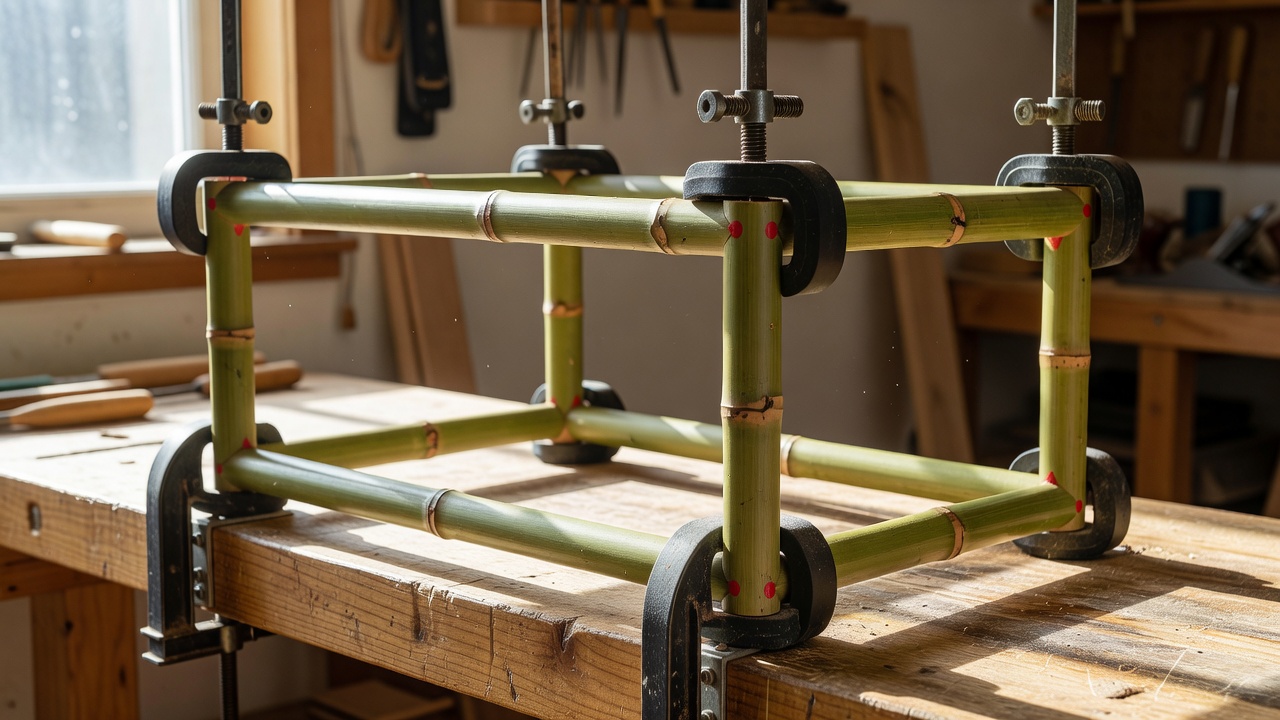
Choose a modest first project
Begin with a small non-seating object, such as a display frame or a low stand for a lightweight object. Define its intended use in writing, including where it will stand and what it must not be used for. A practice stand is not a step, stool or seat. Keeping the first project modest leaves room to study the assembly without asking an unverified design to support a person.
Sketch the front, side and top views. Include overall dimensions, the positions of connections and the material identifiers from your stock record. Show which face of each culm is your reference. Because natural sections vary, a simple cut list is not enough: add notes about taper, wall condition and the orientation that produces the intended contact.
Trace the load path
Follow the expected load from its point of application to the supporting surface. A top transfers load into rails or supports; those members transfer it through joints into legs or a base. Sideways forces take a different path. Moving the piece, leaning on an edge or placing it on an uneven floor may challenge connections that appear quiet under a centred vertical load.
Look for ways the frame could rack into a parallelogram, twist or tip. A decorative crosspiece is not automatically effective bracing. Its location and connections must allow it to carry the relevant forces. Wider support may improve stability, but it does not repair weak connections. Consider geometry, member condition and connection behaviour together rather than treating any single feature as a guarantee.
Set out before cutting
Use a full-size layout on a suitable flat surface where practical. Mark centrelines and consistent reference points. Pair components deliberately instead of selecting them at random during assembly. If one rail is thicker or more tapered, account for that before shaping its ends. A stable jig can help locate parts, but avoid clamping a variable culm so hard that it changes shape to match the jig.
Plan access for tools, hands, clamps and fasteners. Some connections must be completed before a neighbouring member closes the working space. Consider whether the piece can be repaired or disassembled later. An attractive hidden connection may make maintenance difficult, particularly if it traps moisture or cannot be inspected after assembly.
Practice: write an assembly sequence
List each operation in order before applying adhesive or final restraint. Include stock identification, marking, cutting, shaping, dry fitting, checking, final assembly and curing where relevant. At each stage, name the observation that allows you to continue. “Check fit” is vague; “confirm both rear legs contact the layout stops without forcing the rails” gives you something concrete to inspect.
- Label matching parts and photograph their orientation.
- Dry-fit the whole frame on a suitable reference surface.
- Compare diagonals where the intended geometry makes that useful.
- Check bearing contact and note any rocking or twist.
- Confirm clamp pressure is not crushing the culm walls.
- Record the adhesive’s full cure requirements, if used.
Take the dry assembly apart and see whether you can reproduce it from your notes. This is a useful test of the plan itself. If you cannot identify the orientation of a rail or the order of two operations, improve the record while the problem is inexpensive to solve. Do not rely on memory once adhesive working time begins.
What should I record after assembly?
Record alignment, visible gaps, new damage, ground contact and changes at witness marks. Note the inspection conditions. A frame that looks square on a distorted bench may behave differently on a flat floor.
Inspect without improvising a safety test
After the specified cure or settling period, inspect the piece without placing anyone under or on it. Check for splits, loosened restraint, unstable ground contact and unexpected movement during gentle handling. Stop using an experimental object if you find damage or uncertainty. Informal handling can reveal a problem, but the absence of visible movement does not establish strength or long-term durability.
For seating, recognised test references include EN 12520 for domestic seating requirements, EN 1728 for seating strength and durability test methods, and EN 1022 for seating stability. The applicable editions and product scope must be checked for the intended market. Reading a standard is not the same as carrying out a compliant test, and a home-made load trial is not a certification.
Design for continued inspection
Keep critical connections visible or accessible where possible. Avoid details that collect water or conceal a developing split. Plan suitable feet or contact surfaces without assuming an end cap solves every moisture problem. Record intended care, limits of use and when to inspect again. Furniture is used, moved and cleaned; those ordinary actions should be part of the design conversation.
Before progressing to seating, public-use furniture or a product for sale, obtain appropriately qualified design and testing advice. The exercise here demonstrates planning and observation, not approval of a finished product. Once the assembly is understood, use the finishing lesson to evaluate surfaces without confusing appearance with structural performance.